This article is part of a series of settings overview articles:
Account | Workspace | Integrations | Personal |
Aha! Ideas | Personal settings
Personal settings enable you to structure your personal Aha! Ideas experience. You can edit your profile, adjust how often you receive notifications for records in your account, and authorize or revoke authorization for integrations.
Guest accounts will only have the Profile in their personal settings.
Open your personal settings by navigating to Settings ⚙️ Personal. Click any of the links below to skip ahead.
Profile
Your Profile settings affect your Aha! Ideas user profile.
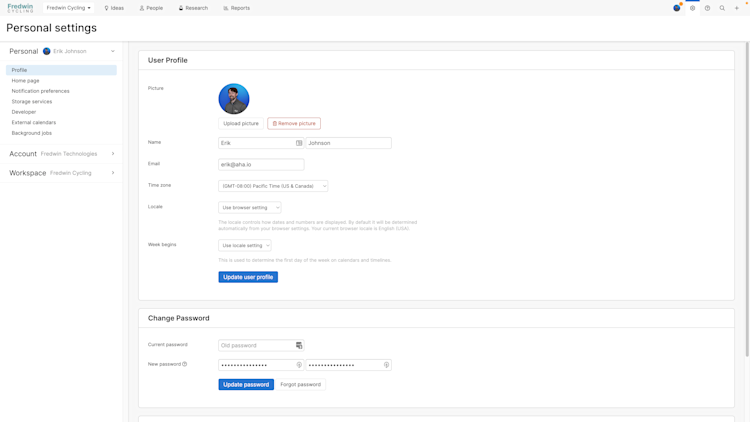
User profile
Use Picture to upload or replace your profile picture.
Use Name to update your first or last name.
Use Email to see the email associated with your user account. You can update it below.
Use Time zone to change your local time zone. Aha! Ideas notifications will display the time zone you choose.
Use Locale to set the way that Aha! Ideas will display dates and numbers. By default, it will be determined from your browser's settings, but you can change it here if you need to.
Use Week begins to determine the first day of the week for calendars or timelines you view in your Aha! account.
Click Update user profile to save your changes.
Change email
Use the Change email settings to update the email associated with your account. First Verify your password, then enter and confirm a new email.
Click Update email to save your changes.
Change password
Use the Change password settings to update your password. Click the ? icon next to the New password field to see the password requirements.
Click Update password to change your password, or Forgot password to reset your password.
Product announcements
We update Aha! products frequently — with new functionality, improvements, and fixes. This setting suppresses the in-app system broadcasts that pop up when Aha! announces new updates. It affects only your user, and no one else in your Aha! account.

Even if you disable product announcements, you will always be able to see technical or urgent broadcasts or scheduled server maintenance or to report an outage.
Click the toggle to Enable or Disable product announcements.
You can still stay on top of recent product updates from the ? menu in the navigation bar. Open that menu and expand the What's new section to see recent product announcements.
Home page
You can set almost any screen in Aha! Ideas as your personal home page, though common choices are the My work or Notifications pages.
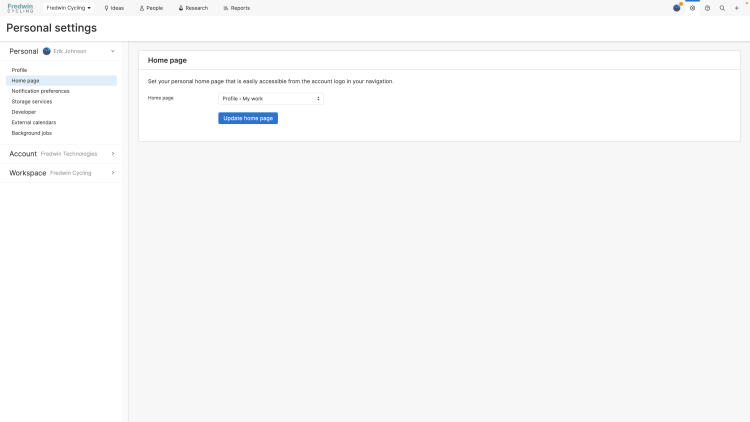
The My work page will keep you up to date on your tasks, while Notifications allows you to catch up on activity on the records that you are involved with. You can also choose a broader perspective and start with an overview of activity on your ideas portal.
Click Update home page to save your changes. To access your home page, click the account logo in the upper left of your screen.
Notification preferences
Notification preferences allow you to adjust how often you hear about the progress of work in Aha! Ideas — and what records you want to trigger a notification.
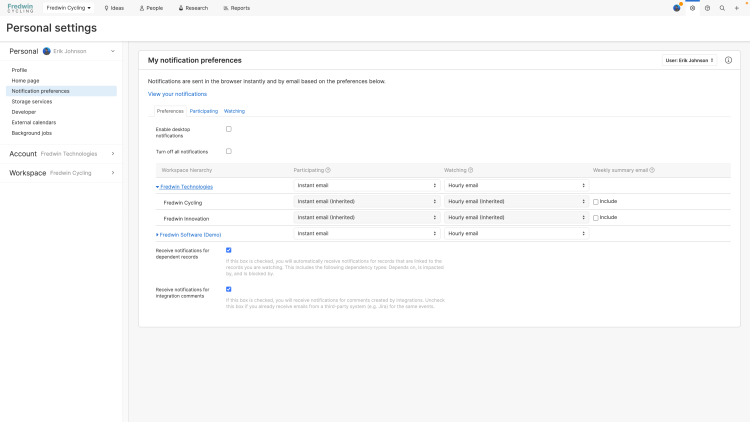
Notifications can come to you instantly through Aha! Ideas or by email. You can arrange different settings for records that you are watching versus participating in, unsubscribe from a particular workspace's updates, or choose to ignore integration updates.
There are three tabs on this page.
Preferences lets you adjust your notification preferences.
Participating shows you records assigned to you and record comments you are subscribed to.
Watching shows you all records you are a watcher on. Click Unwatch to remove yourself as watcher from a particular record, or Unwatch all records to remove yourself as a watcher from all records.
Emailing watchers through the Email watchers link on a record will email each watcher based on the notification preferences they have set.
Set global notifications preferences in the Preferences tab. From here, you can Turn off all notifications or Enable desktop notifications. You can also set per-workspace notification preferences using the hierarchy on the left. The Turn off all notifications setting affects email notifications on to-dos for assignment, edits, and comments. Daily reminders of upcoming and overdue to-dos are not affected by this setting.
To do this, click the arrows to expand the hierarchy to your desired level, and then use the Participating and Watching dropdowns to adjust your notification preferences for each.
There are five notification frequency levels for records that you are Participating or Watching:
Instant emails send emails within 10 minutes of a record being updated. Instant emails are record-specific but show all the changes made to that record within that 10-minute delay.
Hourly emails send email digests for changes made across a workspace's records over the last 60 minutes. They are triggered at the top of each hour.
Daily emails send email digests for changes made across a workspace's records over the last 24 hours. They are triggered at 9:00 p.m. Pacific Time.
Browser only sends a notification popup through your web browser within 10 minutes of a record being updated. Browser notifications are record-specific but show all the changes made to that record within that 10-minute delay.
Off disables notifications.
At the workspace level, next to the Participating and Watching columns, you can also enable Weekly summary emails to see a summary of that workspace's activity for the upcoming week.
If you are a workspace owner, you can adjust the notification preferences for other users in your workspace by navigating to Settings ⚙️ Account Billing Users Bulk edit Notifications.
At the bottom of the Preferences tab are two additional checkboxes:
Receive notifications for dependent records, if checked, will send you notifications for records linked to a record where you are participating or watching. This includes records that are marked Related to or Dependent on through the Link to another record menu.
Receive notifications for integration comments, if checked, will send you notifications for comments created by tools you have integrated with your Aha! Ideas account. If your integration already sends you notifications of these comments, you may want to uncheck this box to avoid duplicate notifications.
Some Aha! Ideas users report that notification emails from Aha! Ideas are caught by their email spam filters. You can resolve this issue by adding the email domains or IP addresses listed here to your allow list.
Personal document templates
Document templates provide a ready-to-use format for the types of documents you create most. Aha! Ideas offers a library of templates to choose from when you create a new document. If you have specific details you like to include in your personal documents, or if you want to save time setting up the structure of documents you regularly create, you can create custom templates that only you can access. Once you have created a personal document template, you can access it in the template library My work page or from any workspace you have contributor access to.
From the Personal document templates section, click Add document templates. Then select Note or Whiteboard. Customize the note template to your needs — add tables, images, Aha! views, and more.
After you have created a template, you can hover over it to view the actions available, including View, Edit, or Delete. When you are ready to use a template, you will find it in the Personal section of your template library.
Storage services
Storage services allow your team to attach documents, images, and other assets to Aha! Ideas records. You can control which available storage services you would like to link to your account with the Storage services personal settings.
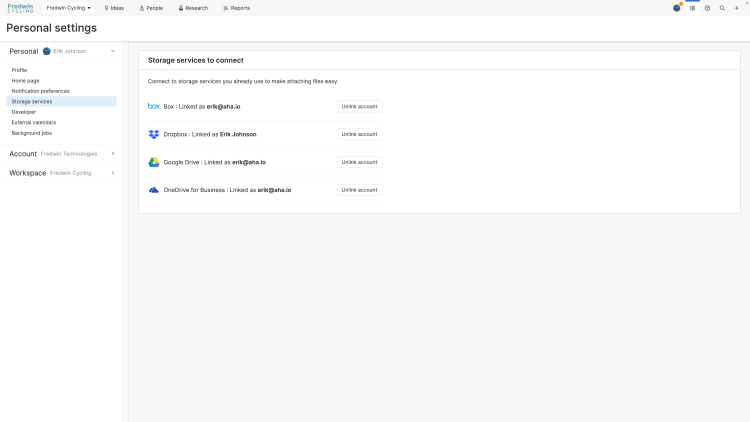
To link or unlink your account from a storage service, click Link account or Unlink account.
For more information about storage services integrations, see these articles:
Developer
Developer settings give you information that your Aha! Ideas account needs for integrations and authorizations.
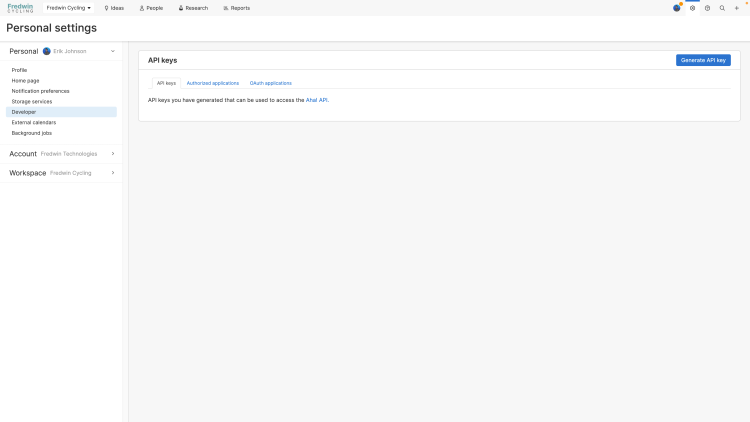
The API keys tab shows you any API keys you have generated and allows you to generate a new API key through the Generate API key button. API keys allow you to access the Aha! API.
The Authorized applications tab shows you which apps, if any, you have authorized to access your Aha! Ideas account using your identity. The Aha! Ideas mobile app, for example, uses this level of authorization. You may revoke any app's access by hovering over an authorized application and clicking the Revoke button.
The OAuth applications tab shows you any Open Authorization applications you have authorized to access the Aha! API. Click the Register OAuth application button to register a new OAuth app, then fill in its Name and Redirect URI(s). Note that the Redirect URI needs to begin with https://. Each Redirect URI should be on a separate line. Click Create to register the app. Once you have registered an OAuth application, you can Edit or Delete it. You will also see the following fields. Click the clipboard icon beside any of them to copy the field to your clipboard.
Redirect URI / Callback URL
Client ID / Application ID
Client Secret
Authorize URL
External calendars
If you structure your day around your calendar, then you will likely enjoy the external calendar integration.
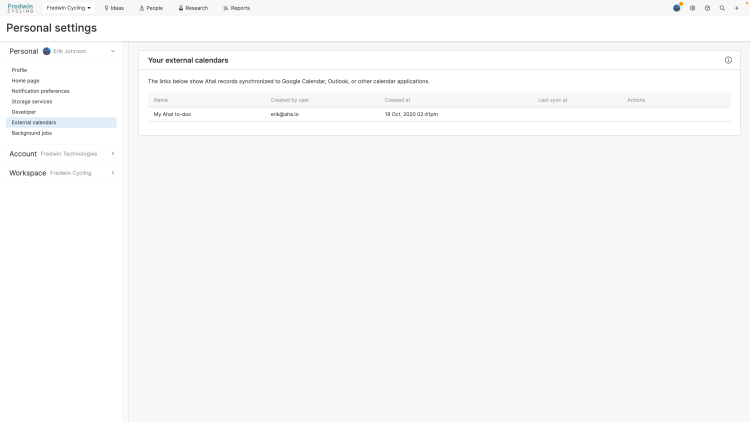
The External calendars personal settings show you any calendars you have authorized to read and link back to your Aha! data. You can revoke any calendar's access by hovering over it and clicking Revoke access.
Background jobs
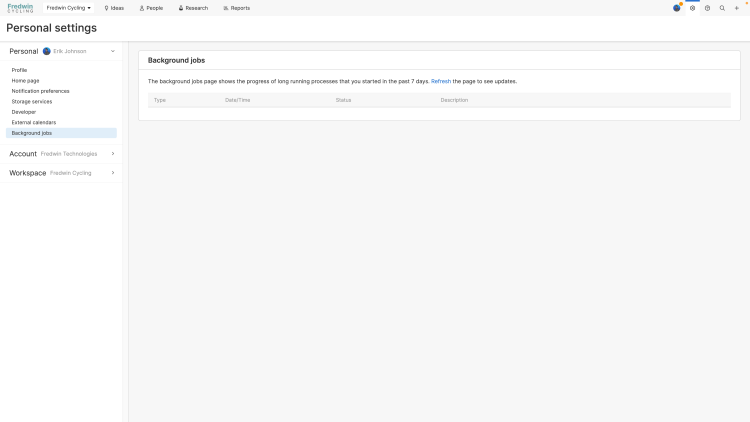
If you start a long job, such as an import or bulk edit, you can leave the page, then check its progress on the Background jobs page. The Background jobs page shows the progress of long running processes that you started in the past 7 days.
Workspace access
If you try to access a workspace or record that you do not have permissions to view, administrators in your Aha! account can create a custom message detailing who you should contact to request access.
You will see your Aha! account administrators' custom instructions in two places:
From the error page when you try to access a workspace or record you do not have permissions to view.
Here in your personal settings.
If your account administrators have not created a custom message, you will see a list of every billing administrator in your Aha! account. You can email any of those administrators to request access.
